Have a poor WiFi signal? Want to make your own antenna?
Well, we've all been here before...
Just like you, I tried to find some cookware in local supermarkets, but couldn't find anything really promising.
So I decided to make my own.
Below are some photos which I took during its construction (you can click to enlarge).
If you're the eager type, check out the result now!
| Diameter: | 24 cm |
|---|---|
| Dish depth: | 6.5 cm |
| Antenna length: | 33 cm |
| Weight: | 750 g |
| Formula used: | y=0.011x² |
Any questions or advices? Feel free to contact me!
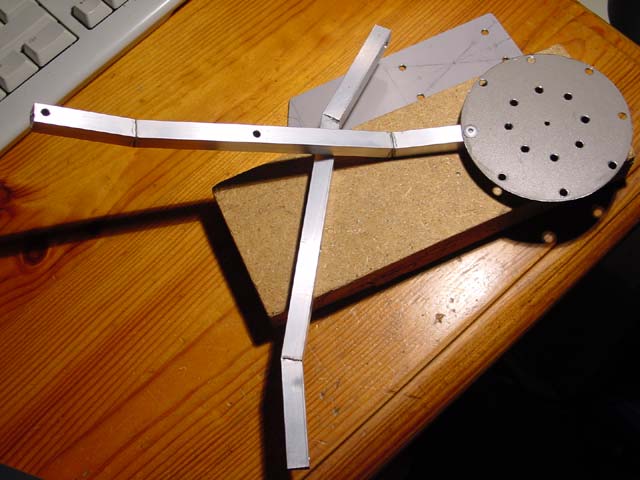
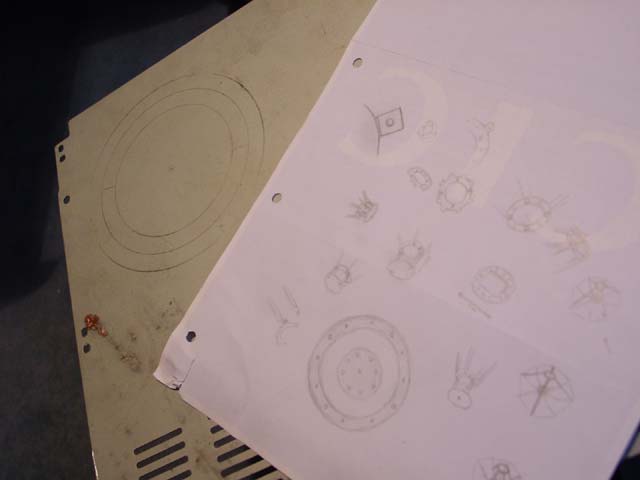
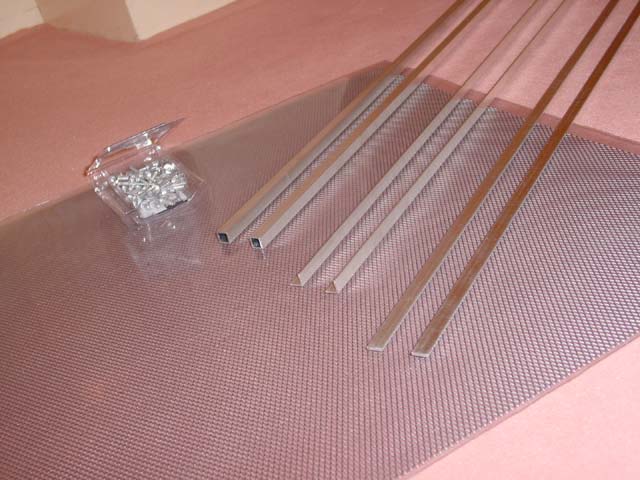 First I designed the blueprints, and then went to the store to grab the material.
Here is how the antenna looked back then.
First I designed the blueprints, and then went to the store to grab the material.
Here is how the antenna looked back then.
I used:
two 1m simple aluminium rail;
two 1m 4-sided aluminium tubes;
two 1m L-shaped aluminium tubes;
one 50×50 + another 25×50cm fine mesh;
50+ aluminum rivets. The rest consists of used metal plates which I had to reshape.
 The dish is build around 8 arms, made in 4-sided aluminium tubes. This allows for both stability and lightness.
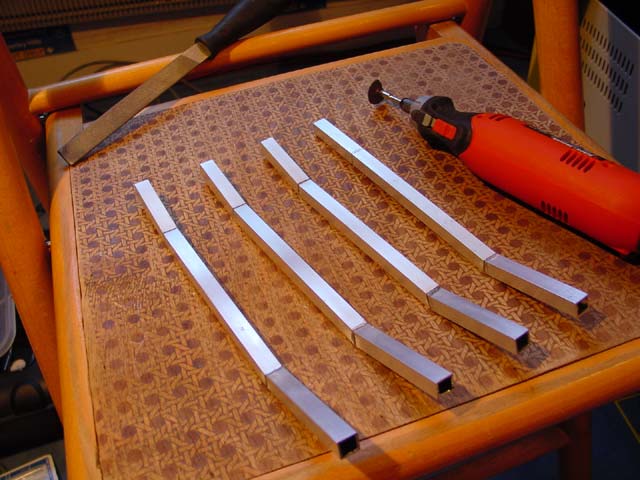
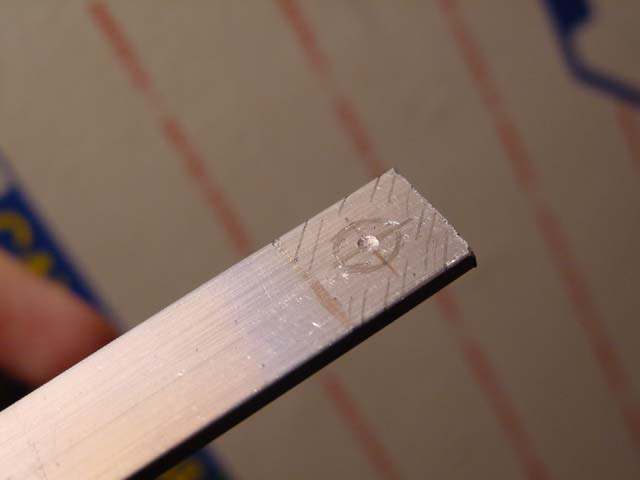
 Here you see some of the future arms for the dish, with some marks drawn for the bending...
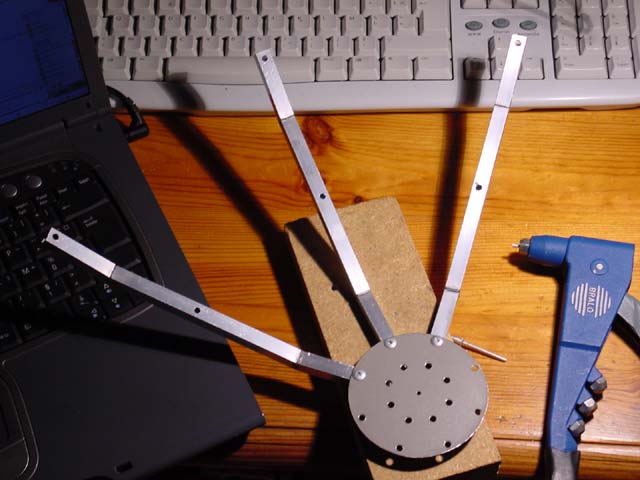
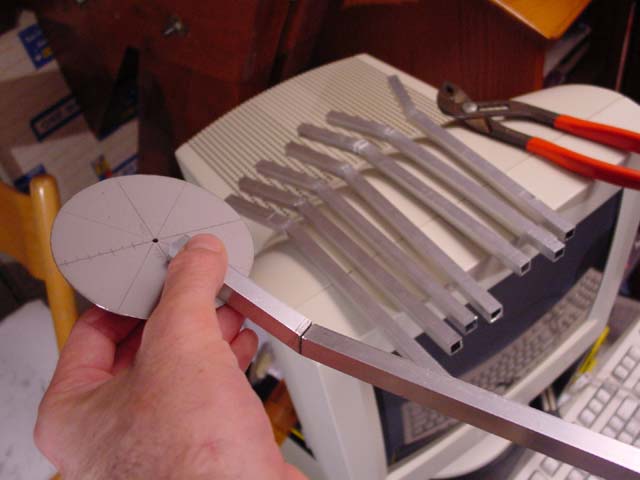 The first bend has been applied to all 8 arms. The central round piece is also implemented.
 Wow! The second bend is being applied. To have these arms bent, I carve them, give them the shape, and then solder them with monster glue.
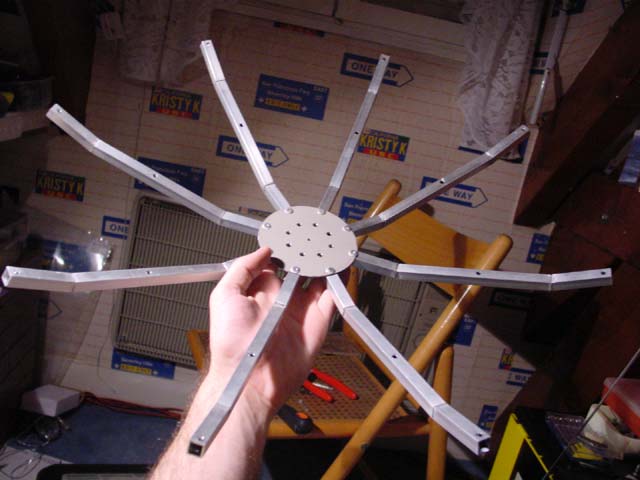
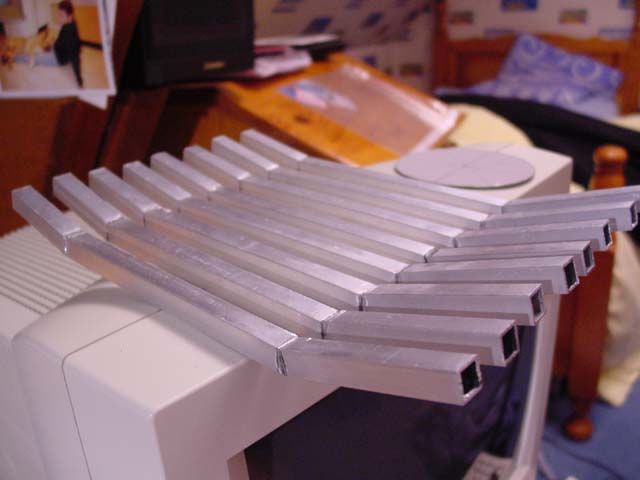 All the 8 arms, in drying position. No hole is made at this time yet...
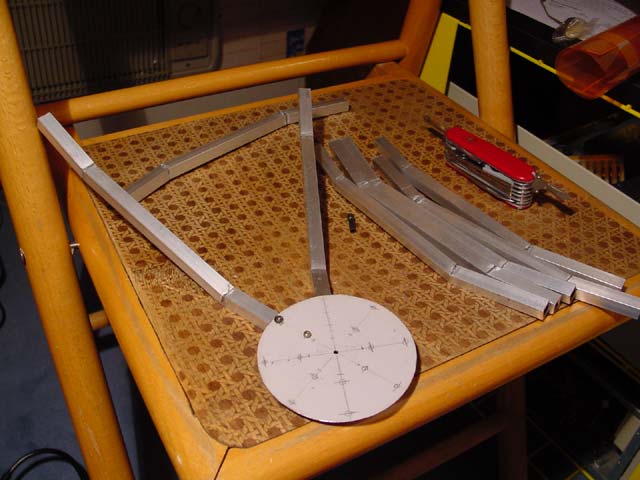 This is basically how the arms will be placed. Piercing that round central thing is such a huge work, because it's a very hard metal.
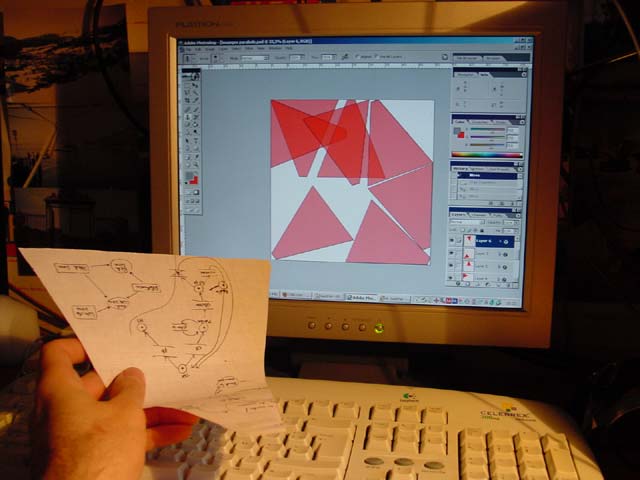 Then I knew the size necessary for my pieces of mesh!
So, want to know how many of them one can cut from a 50×50 cm piece?... (the answer is: 6 at most)
 ...which one was spoiled, because I cut it too short (I was mistaken by my old blueprints). So I stopped drinking beer, and carried on.
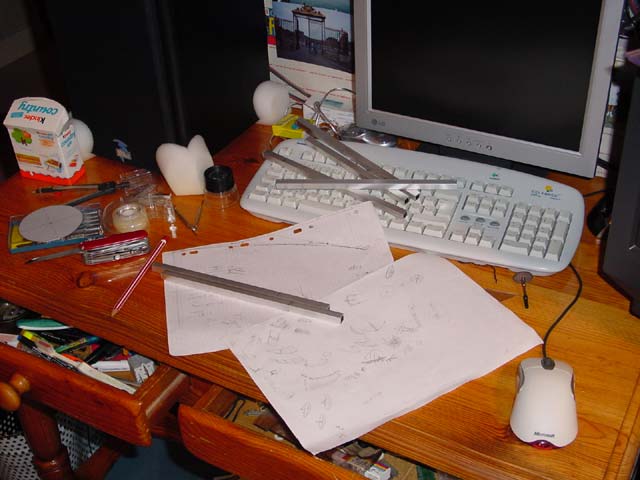
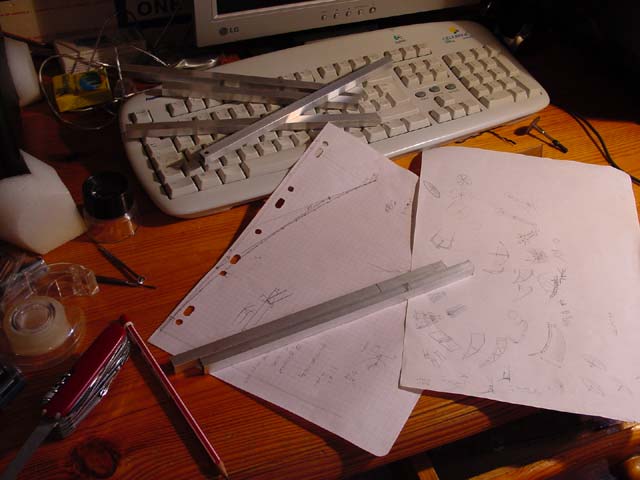
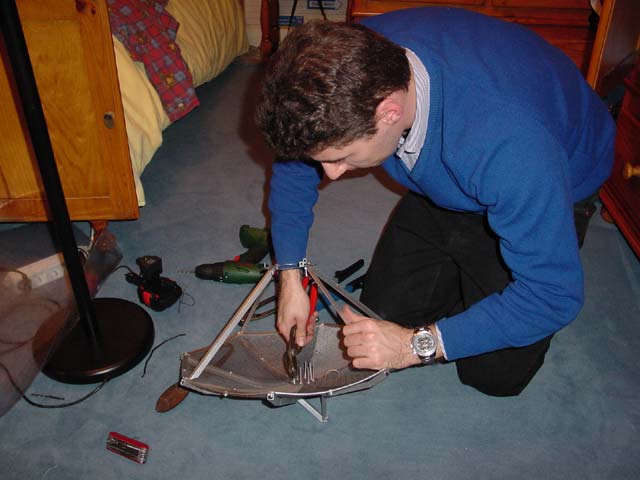
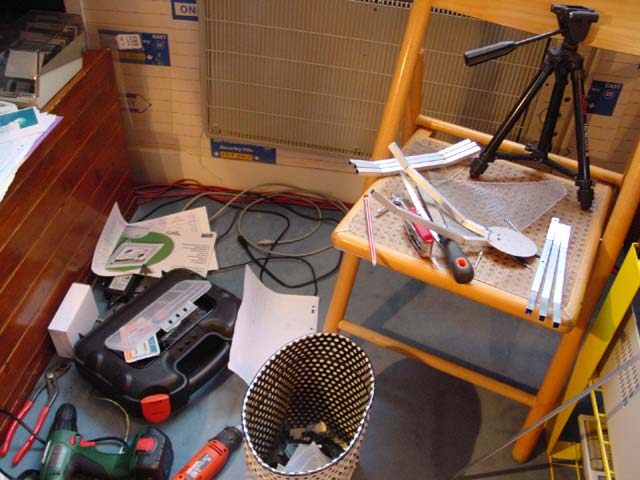 So here is the... workshop. Hey, wait, this is my bedroom!
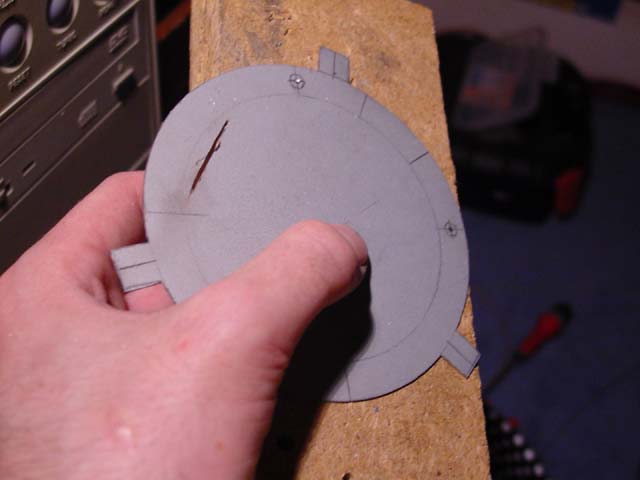
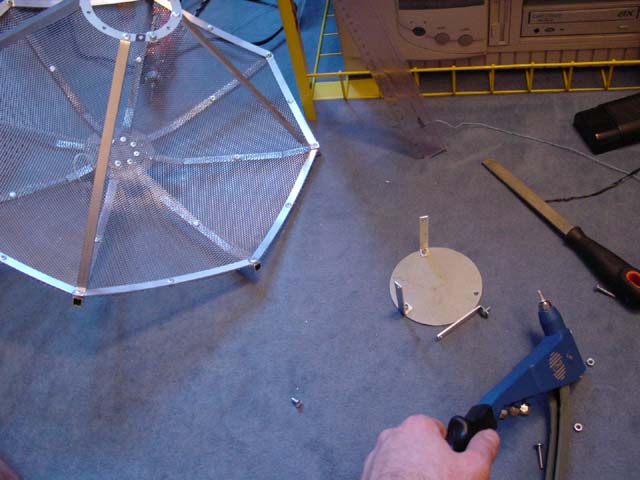
 This will be the mounting bracket for the dish. It will enable to put it on a tripod or whatever.
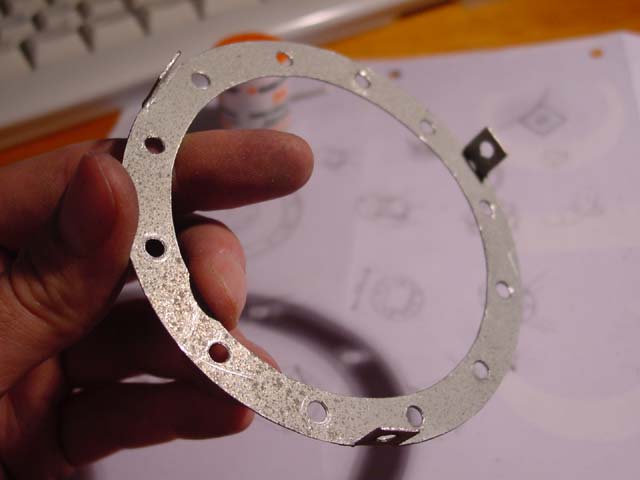
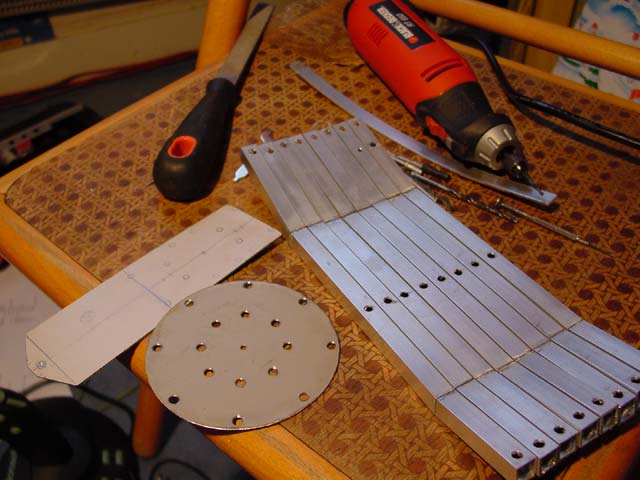 Here are all the pieces I had at this time. Can you see all the tiny holes in the disk? Quite a nice work, but we're not through though.
 The 1st river is always a stirring experience. Remember that once a rivet is in place, it cannot be un-riveted (unless by motivated, brutal force).
So, this one was meant to be definitive.
The 1st river is always a stirring experience. Remember that once a rivet is in place, it cannot be un-riveted (unless by motivated, brutal force).
So, this one was meant to be definitive.
 So we go forth all the way long...
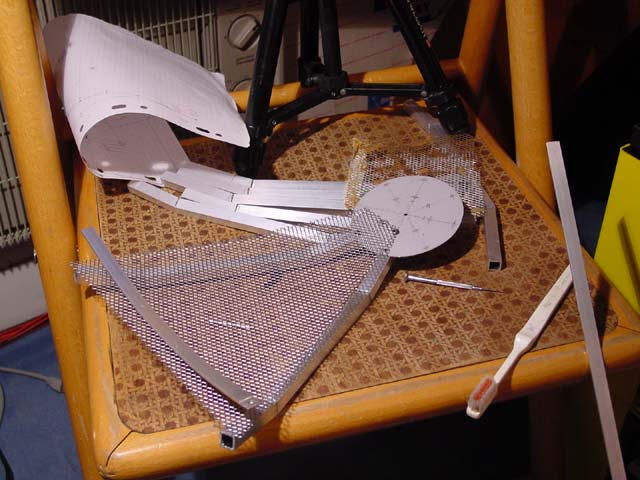
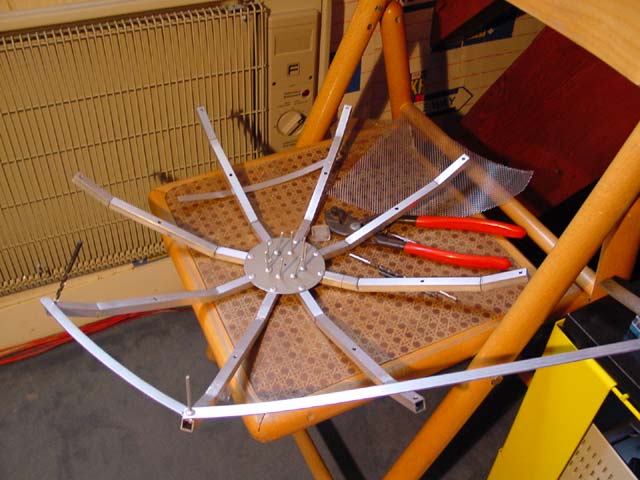
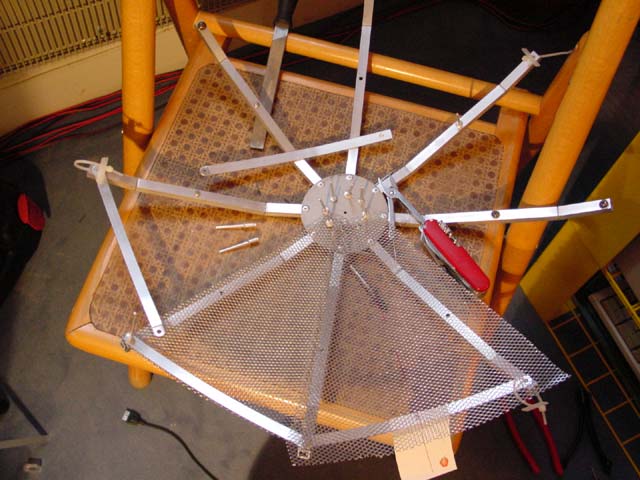
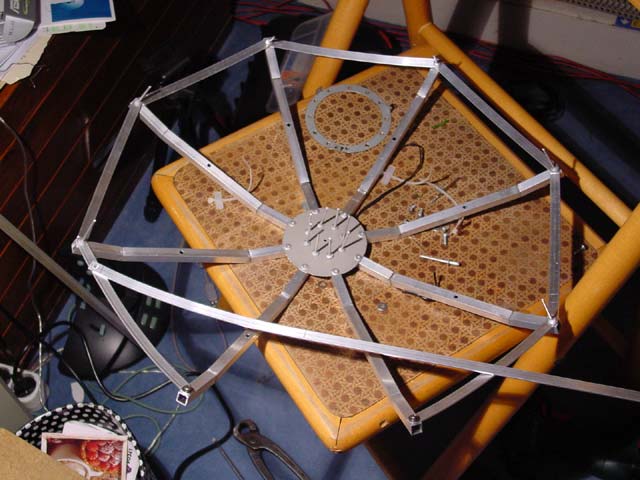
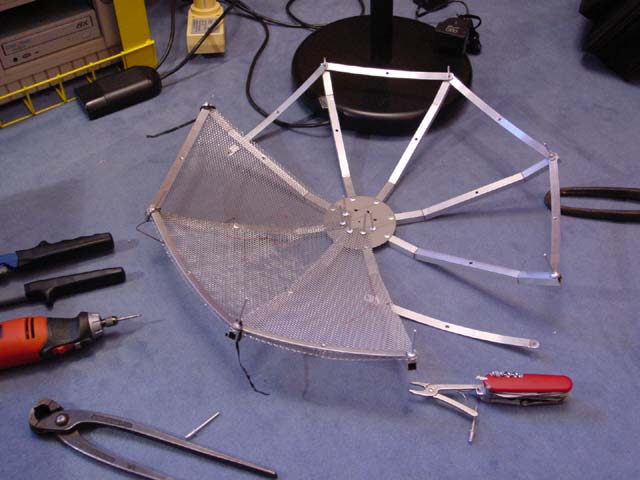
 ...until, finally, the 8 arms are in place! Ain't this really beautiful? :-)
 This is the scheme for piercing.
Both ends of the rail are carved specifically for allowing them for overlapping with an angle.
This is the scheme for piercing.
Both ends of the rail are carved specifically for allowing them for overlapping with an angle.
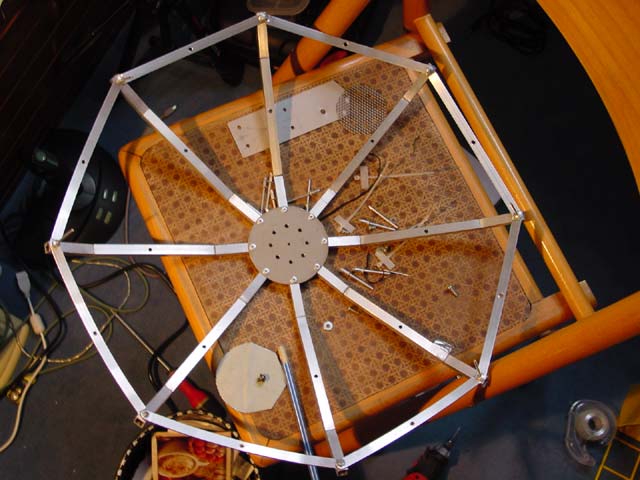
 Now we have to mount the rails around the arms. This will be helpful for sustaining the wire mesh, and for reinforcing the overall structure.
 A close-up on the way these rails are joined.
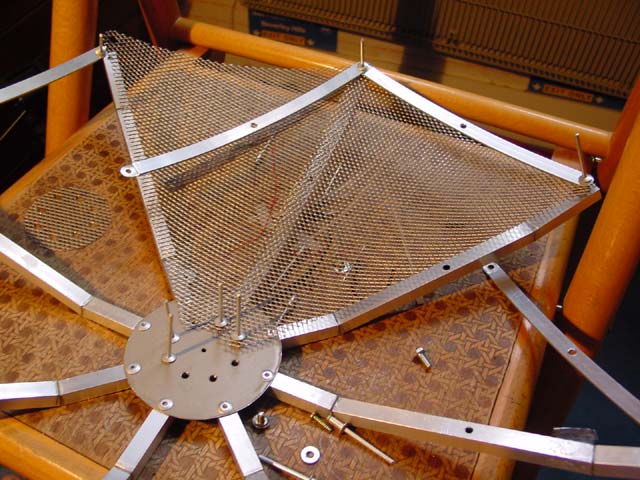
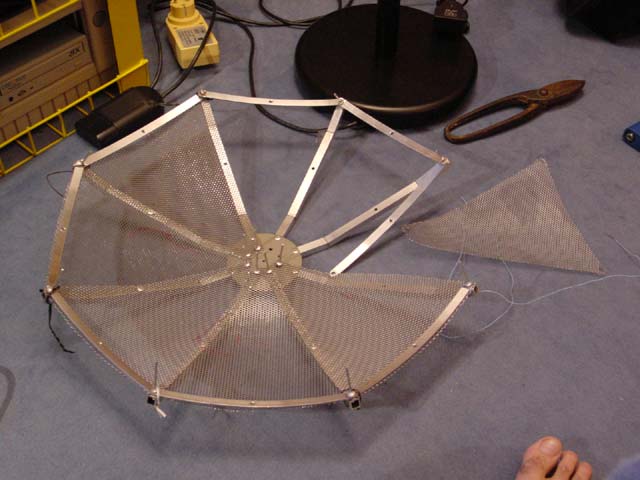
 The first panel is put in place.
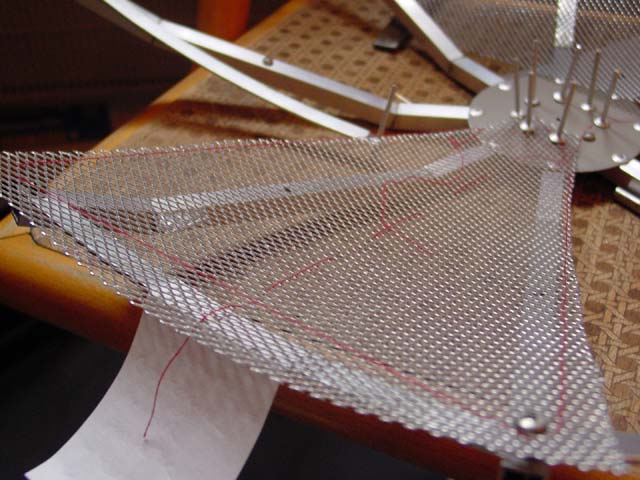 I used some wire to mark where to cut the panels. It also marks the symmetry axis.
 This is the way to go!
 Giving a rounded shape to the pieces of mesh would be really uneasy... without a french petanque bowl!
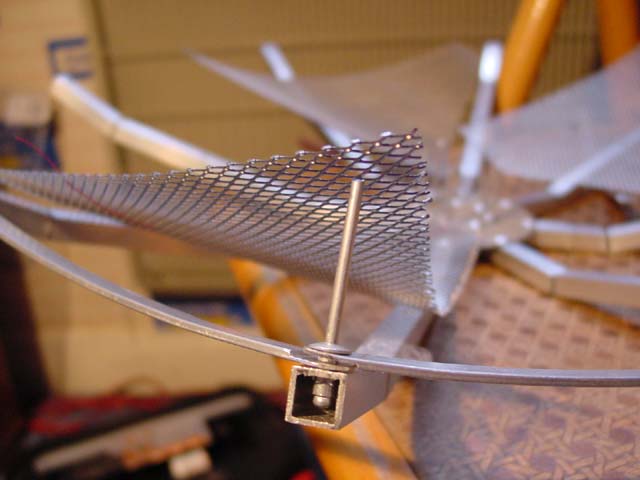
 This strange thing will be the bracket for the focus of the parabola.
I made it with my favorite tools... and I'm quite pleased with the result.
This strange thing will be the bracket for the focus of the parabola.
I made it with my favorite tools... and I'm quite pleased with the result.
 We're almost there! One remaining rail to go...
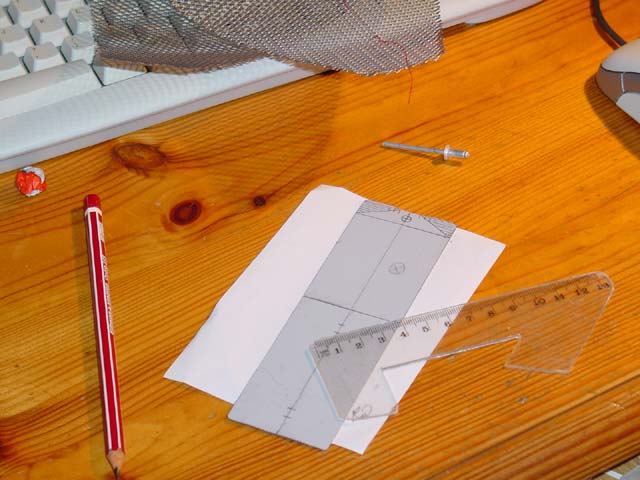
 You can see the reflector in the making (next to the pencil),
as well as a little mesh disk on the other side of the dish (which will cover the center of the dish).
You may also notice that each rail has a supplemental hole in their center (to better hold the mesh).
You can see the reflector in the making (next to the pencil),
as well as a little mesh disk on the other side of the dish (which will cover the center of the dish).
You may also notice that each rail has a supplemental hole in their center (to better hold the mesh).
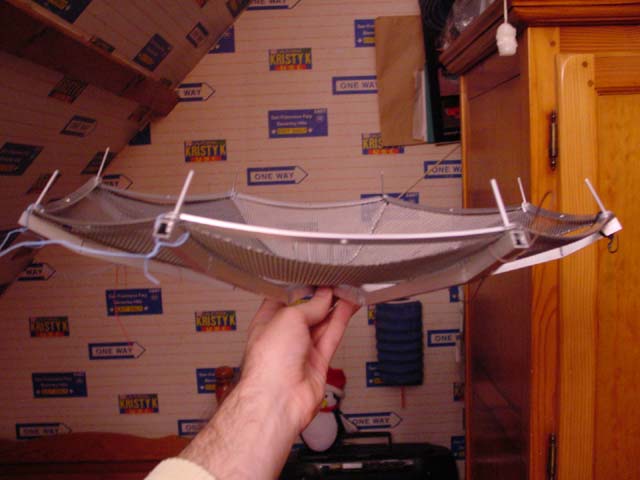
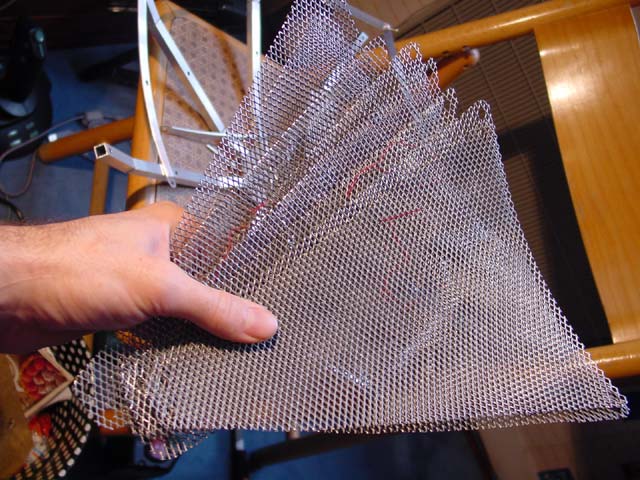 Holding these panels in one's hand gives such a feeling of satisfaction! This was a such a hard time creating them!
 One after the other...
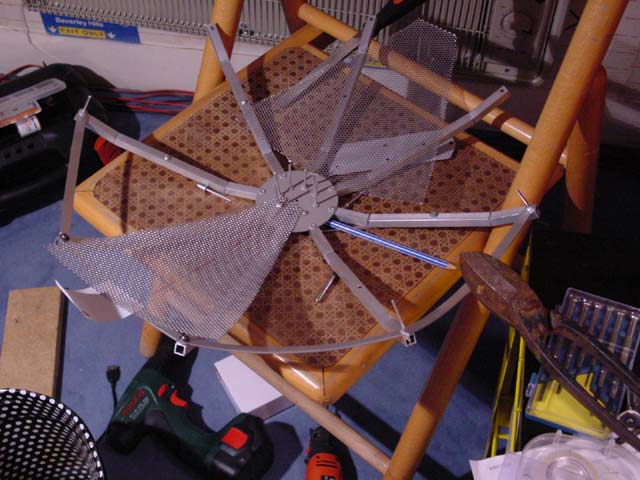
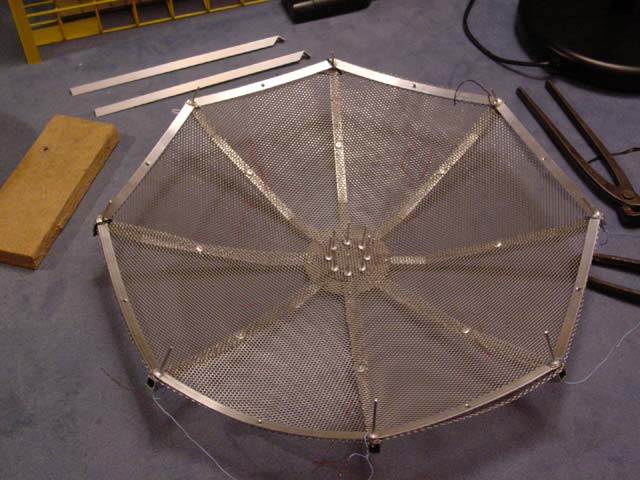
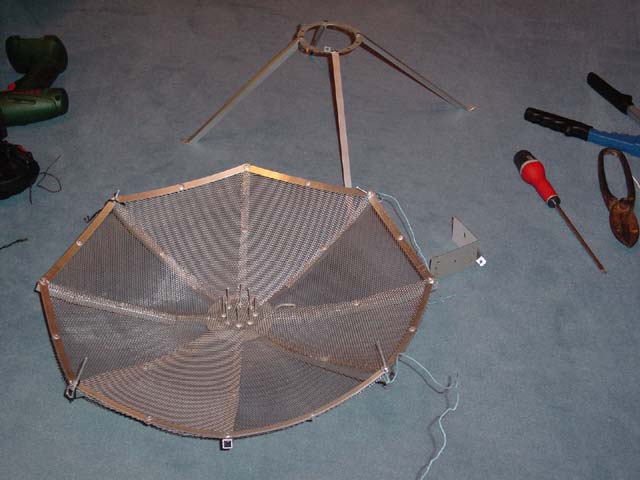
 All right, the pieces of mesh are now in their proper position. It feels like a real one, isn't it?
Hey, don't forget our goal. We now need the accessories! ;-)
All right, the pieces of mesh are now in their proper position. It feels like a real one, isn't it?
Hey, don't forget our goal. We now need the accessories! ;-)
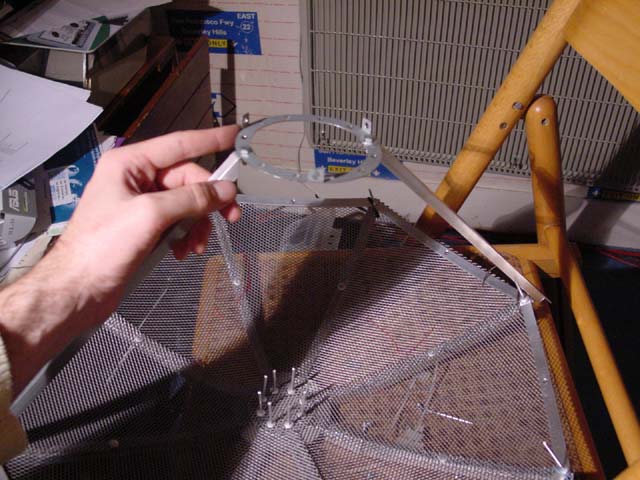
 The support just needs to be attached to the 4 arms... and then to the dish itself.
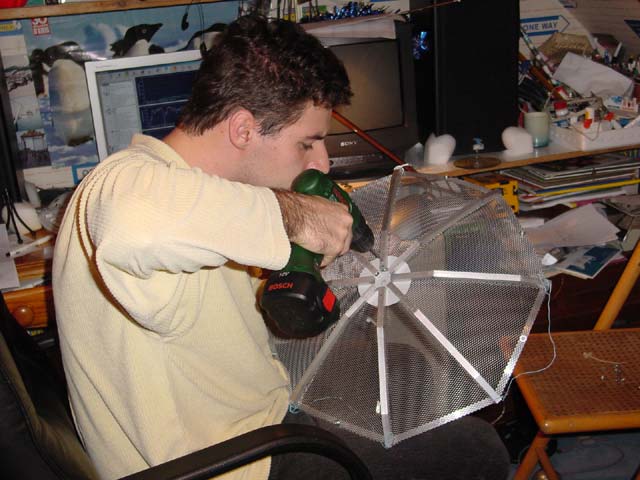
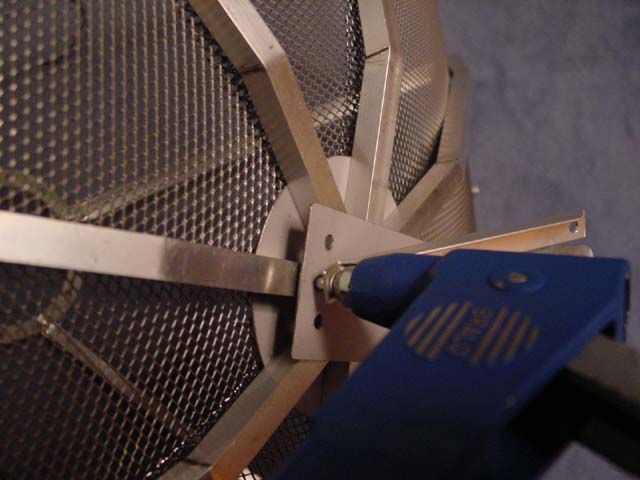 I am now piercing the holes and riveting the bracket to the dish.
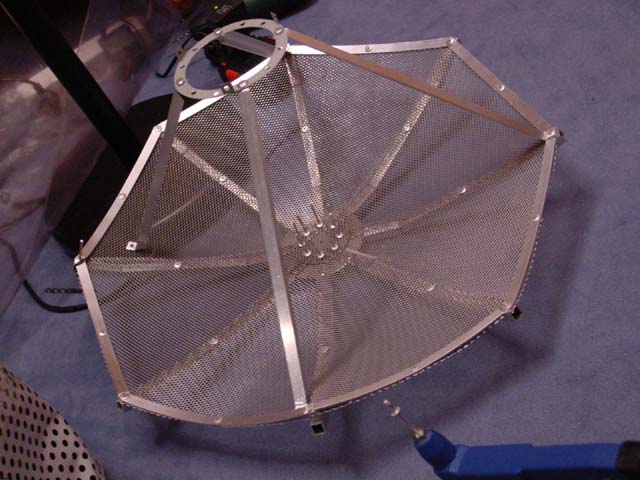
 I'm in the process of fixating the little mesh cover in the center. This also needs no less than 8 rivets.
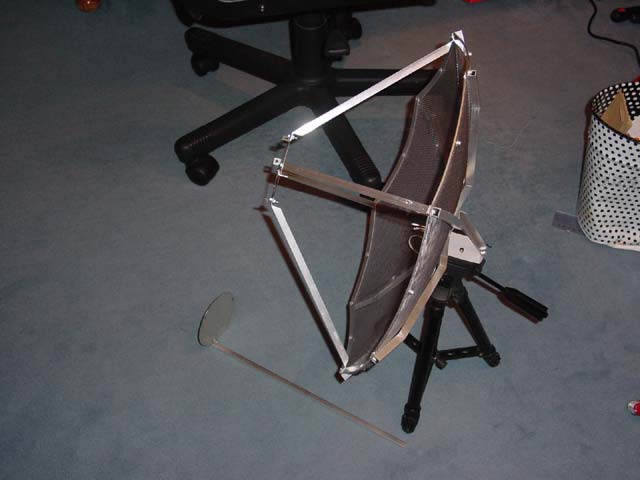 The antenna can be mounted on virtually any standard photographer's tripod.
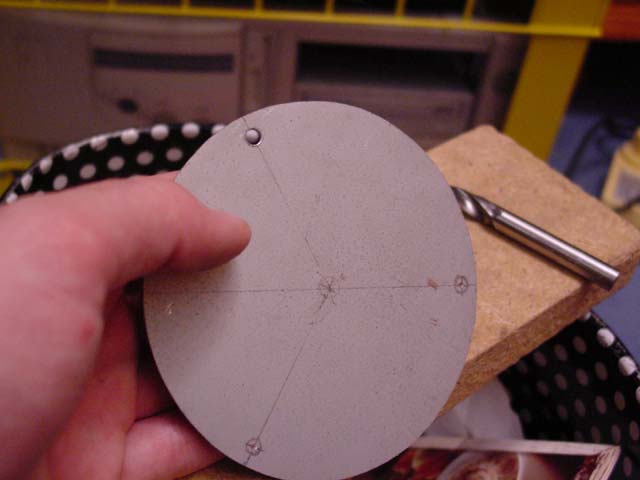 The reflector is now round, and still lacks some more holes to put the fixations.
 The reflector is now almost ready to be attached to the focus bracket... aaaaaand...
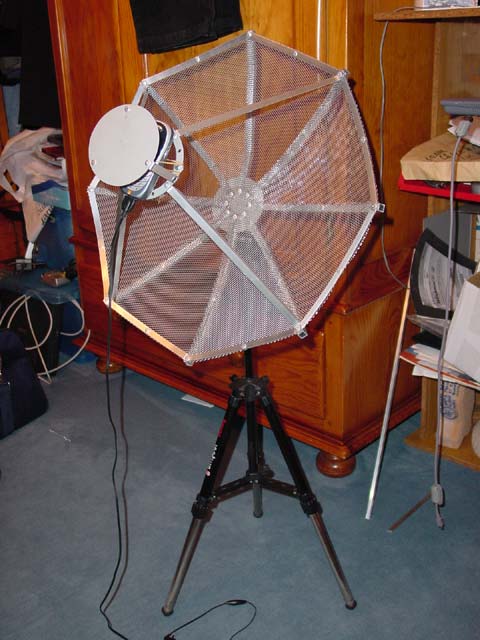
The result!
It had taken a bit more than 1 month (not full-time of course), and nearly 20 €.
 Last update: 2004-12 by Cedric Kiss.